Applies one or more labels to selected pages or blog posts. Any labels already on those pages are preserved - nothing is overwritten.
When to use: Tagging a set of pages with a new project label; applying baseline labels when setting up a space; adding a category label to existing content.
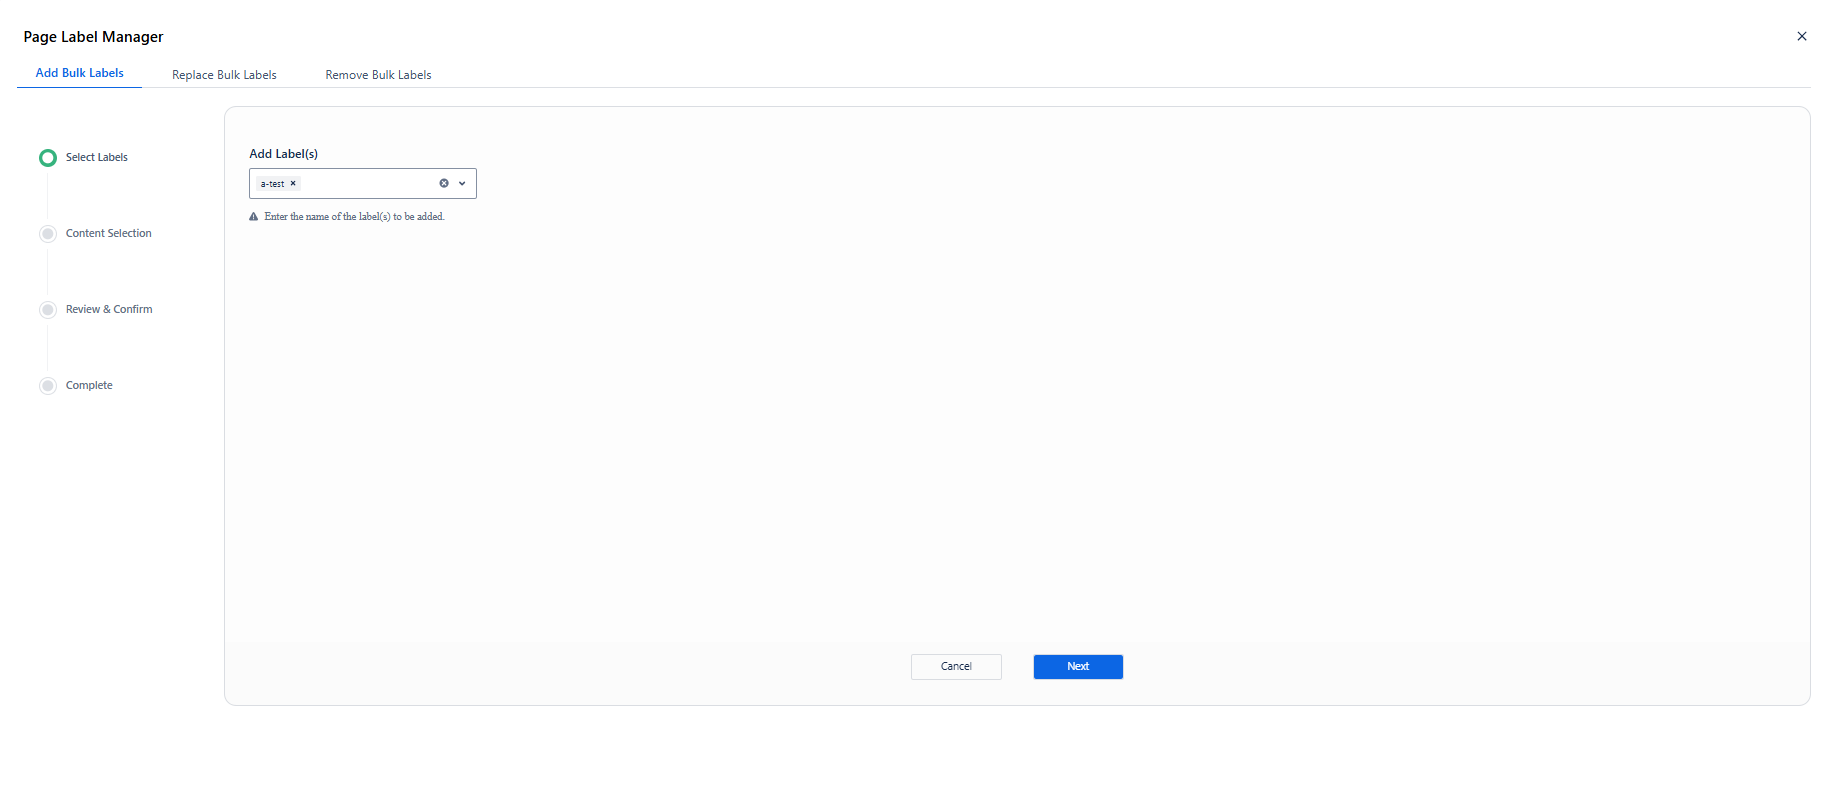
Step 1 - Select Labels
Type a label name in the Add Label(s) field. Press Enter or select a suggestion from the dropdown to confirm it - the label appears as a removable tag inside the field. Repeat to add multiple labels at once.
Click Next when your labels are set.
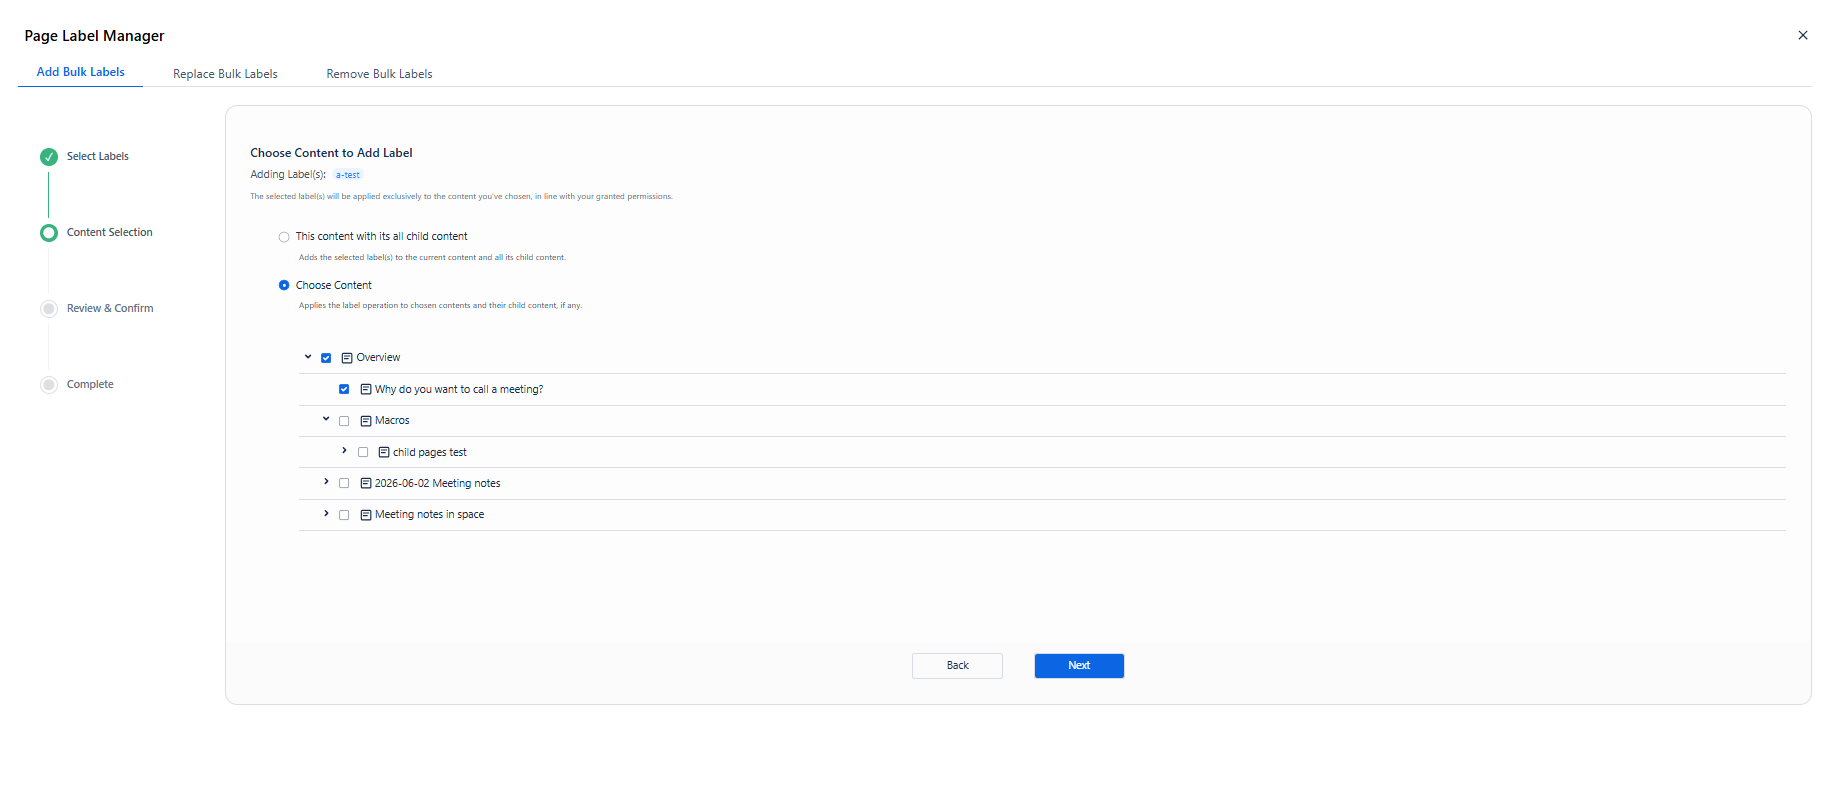
Step 2 - Content Selection
Choose which content the label should be applied to.
|
Option |
Behaviour |
|---|---|
|
This content with its all child content |
Applies the label to the current page and every descendant page automatically - no manual selection needed. |
|
Choose Content |
Displays a page tree. Check each page you want to include. |
Expand any page in the tree using the arrow on the left to reveal and select individual child pages independently.
Click Next when your selection is ready.
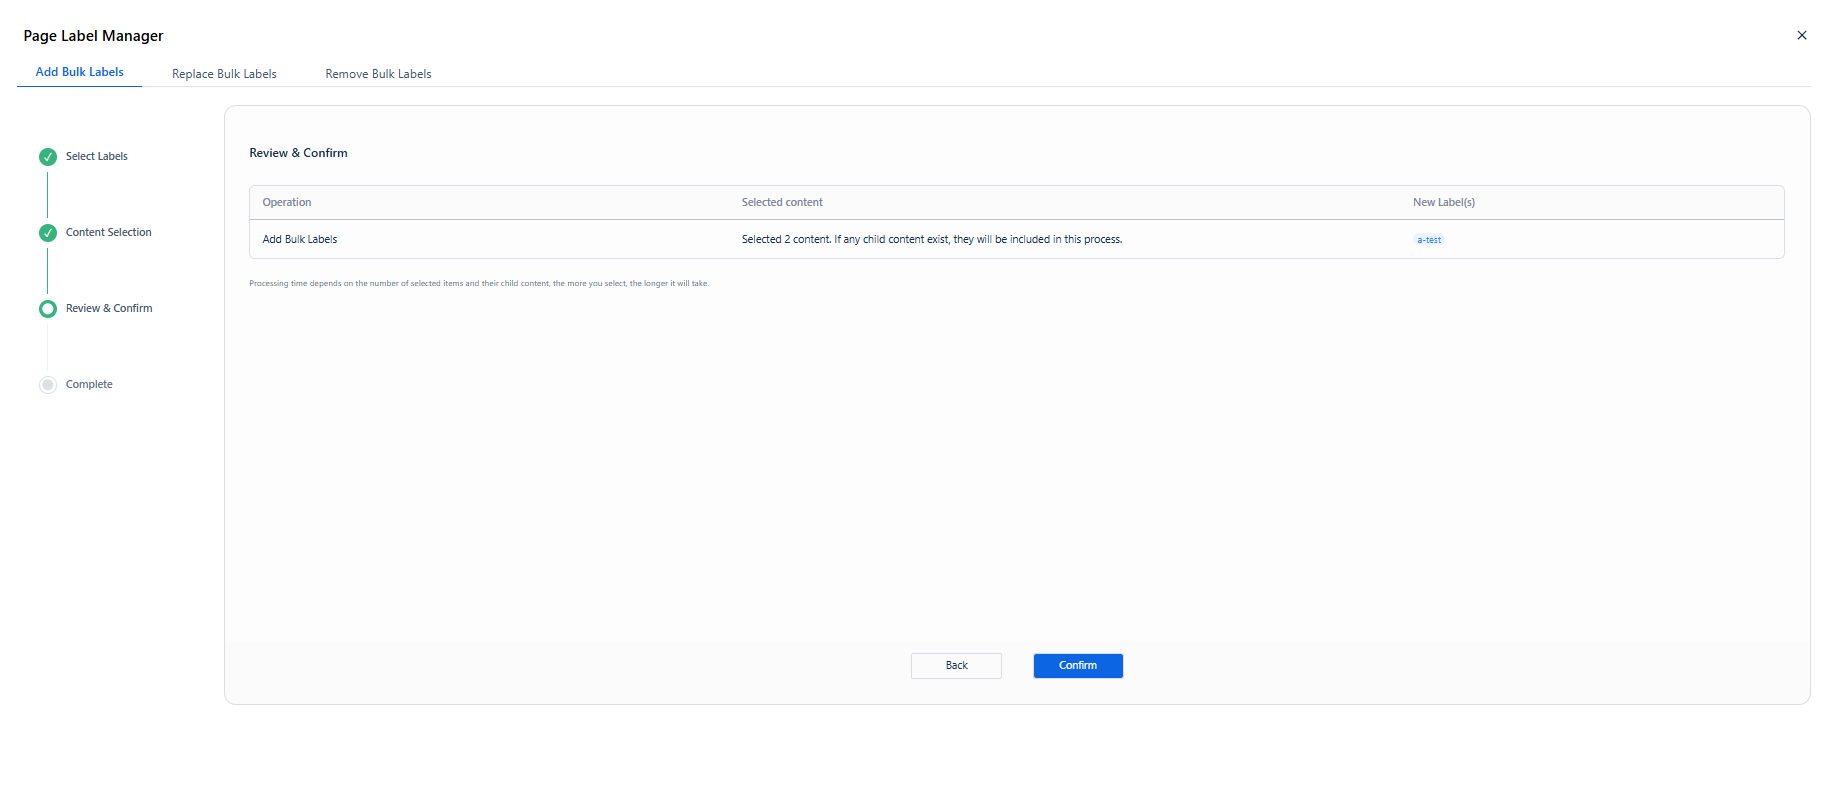
Step 3 - Review & Confirm
A summary table shows the full scope of the operation before anything is changed.
|
Column |
What it shows |
|---|---|
|
Operation |
Add Bulk Labels |
|
Selected content |
Number of pages in scope, including any child pages |
|
New Label(s) |
The label(s) that will be applied |
If anything looks wrong, click Back to adjust your selection. When ready, click Confirm.
Step 4 - Processing & Results
After confirming, a progress bar appears. The panel shows live details while the operation runs:
-
Operation Type: add
-
Page(s) to Process: total pages being updated
-
Operation ID: a unique reference for this job
-
Content Type: page
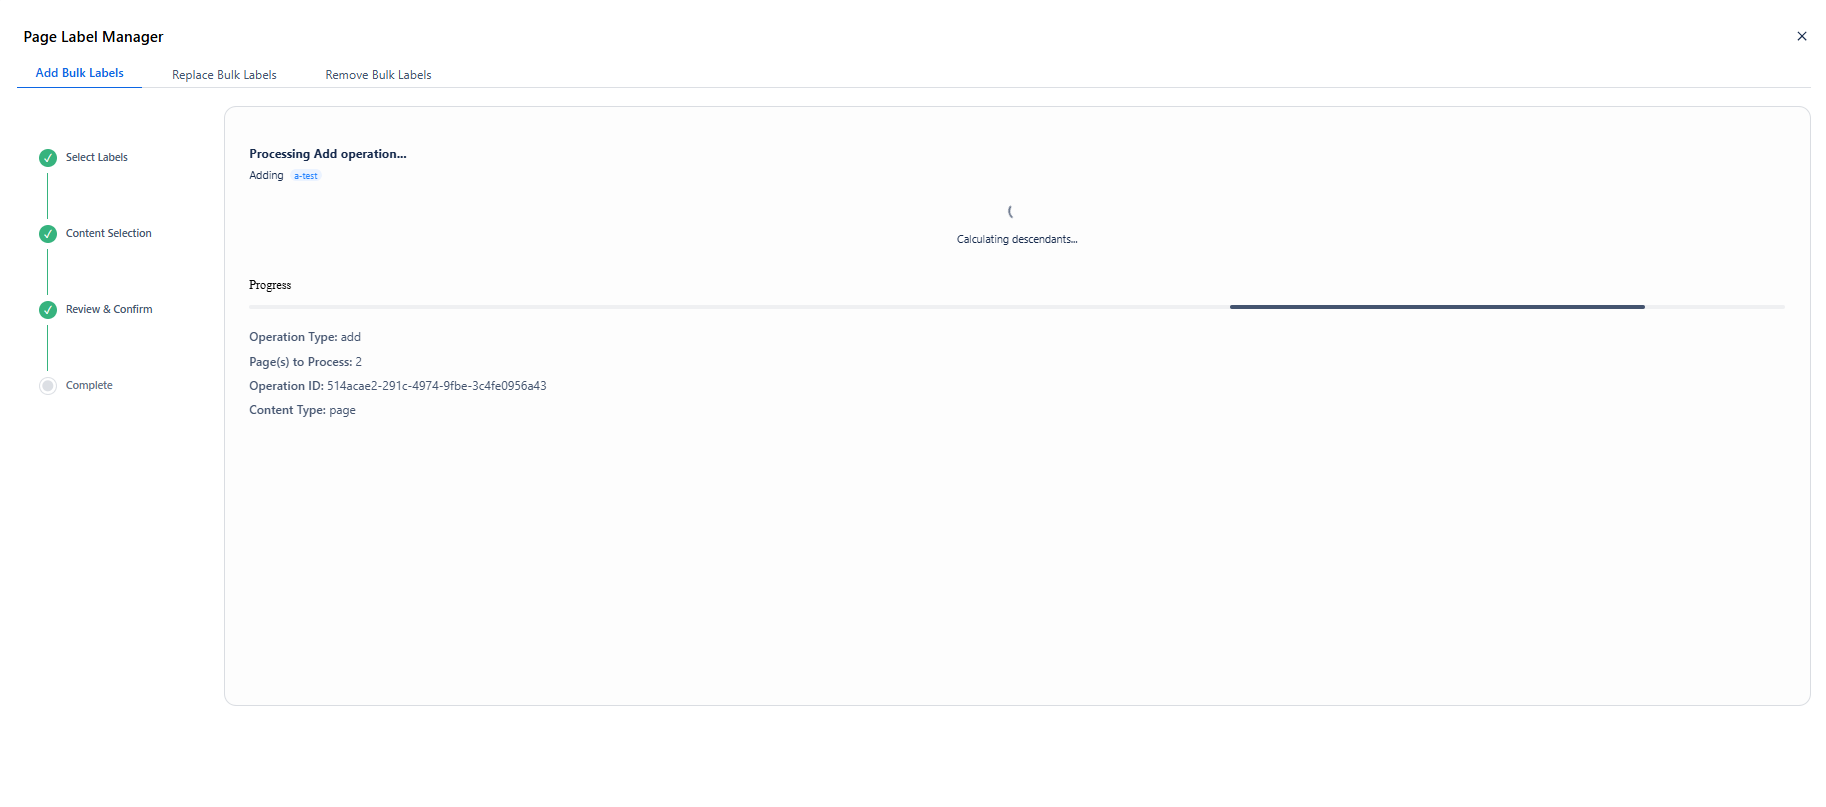
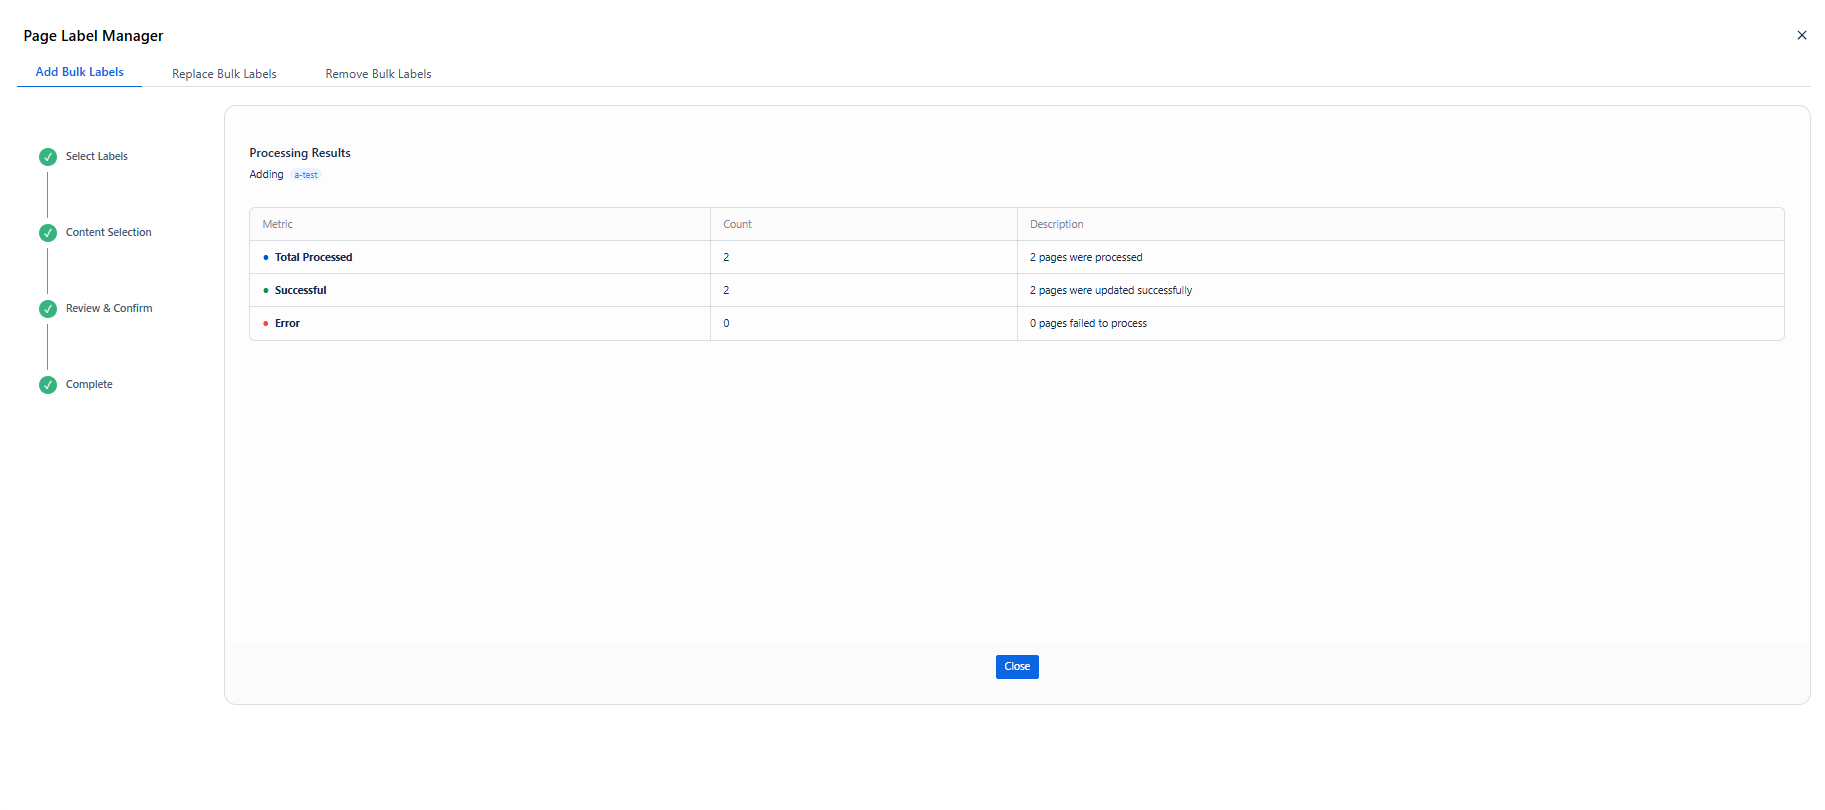
Once complete, the results table appears:
|
Metric |
Description |
|---|---|
|
Total Processed |
Total pages evaluated |
|
Successful |
Pages updated without error |
|
Error |
Pages that could not be updated |
Click Close to dismiss the dialog.