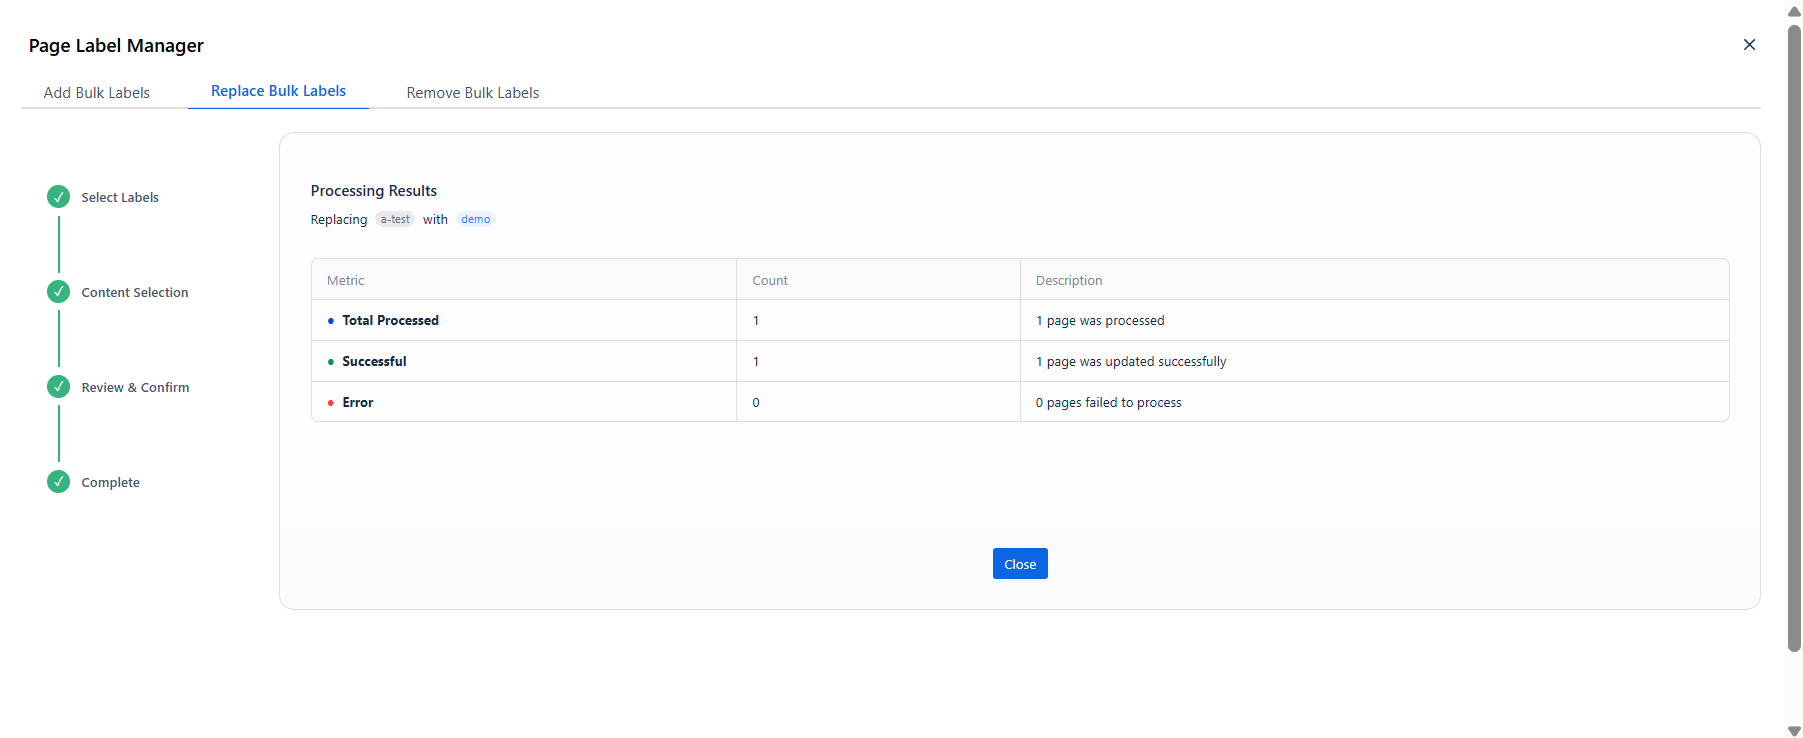
Swaps an existing label for a new one across selected pages. The old label is removed and the new label applied in a single step. All other labels on those pages remain untouched.
When to use: Renaming a misspelled or outdated label; rolling out a new taxonomy; updating all references when a project name changes.
Step 1 - Select Labels
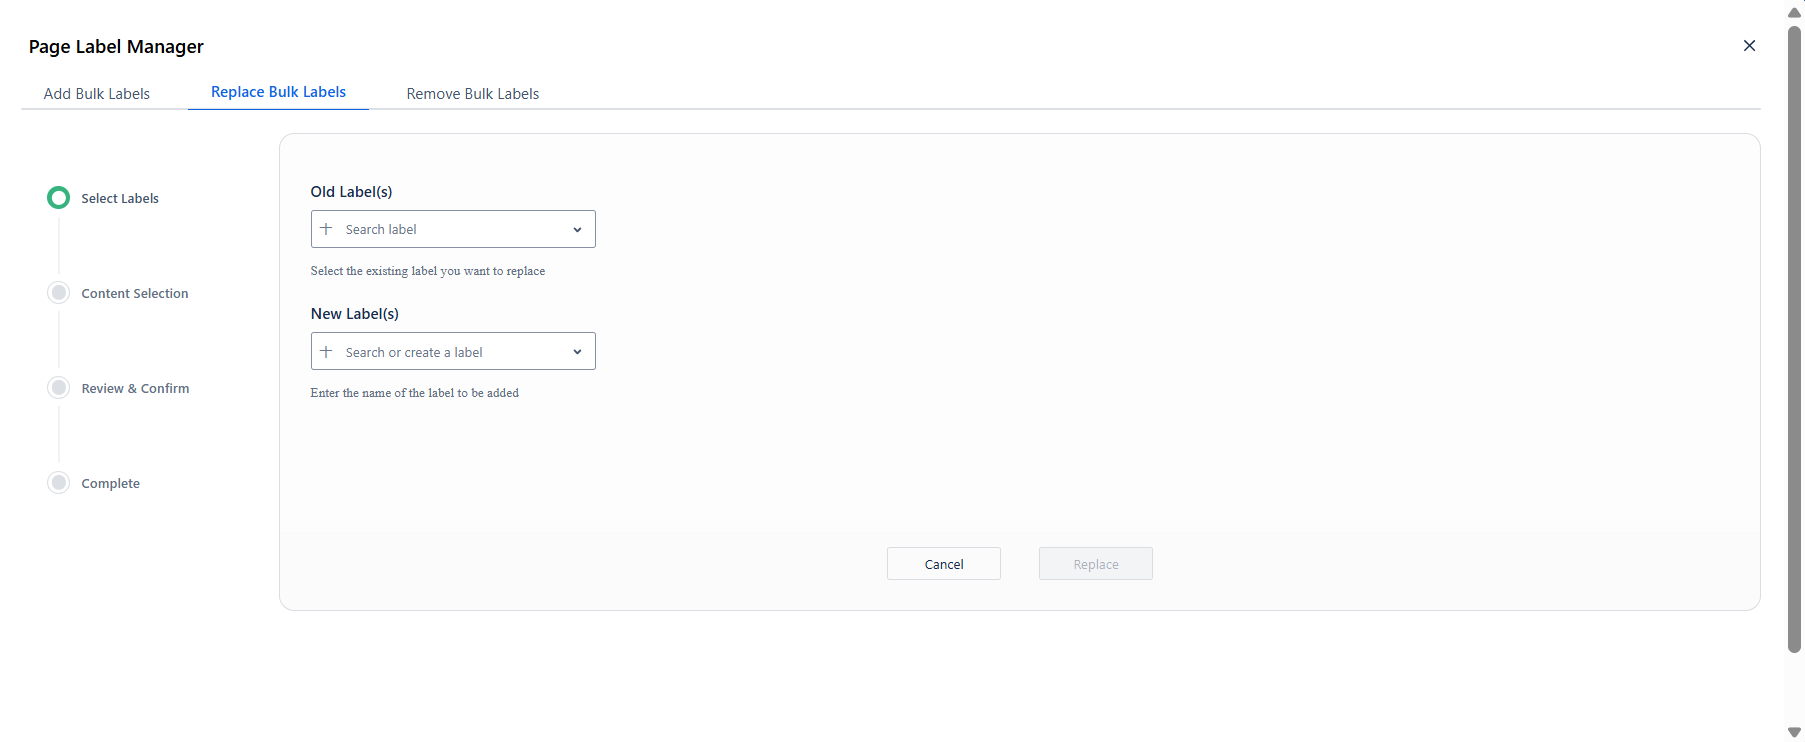
This step has two fields:
|
Field |
Purpose |
|---|---|
|
Old Label(s) |
Search for and select the label currently on your pages that you want to replace. |
|
New Label(s) |
Type or search for the label that should replace it. You can type a new name to create a label on the fly. |
The Replace button is disabled until both fields contain a value.
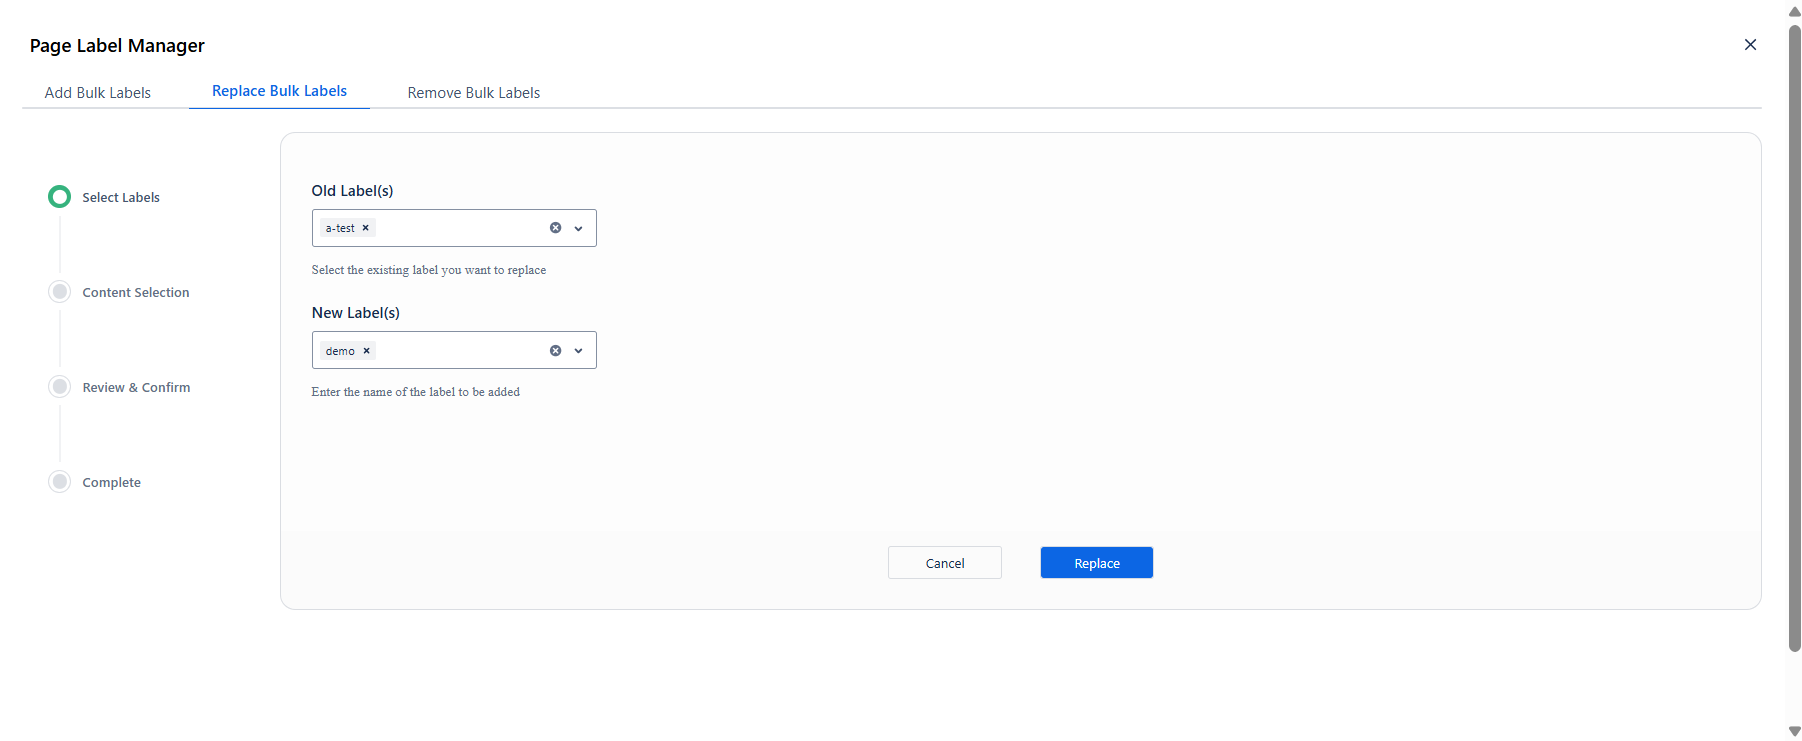
Click Replace to advance to Content Selection.
Step 2 - Content Selection
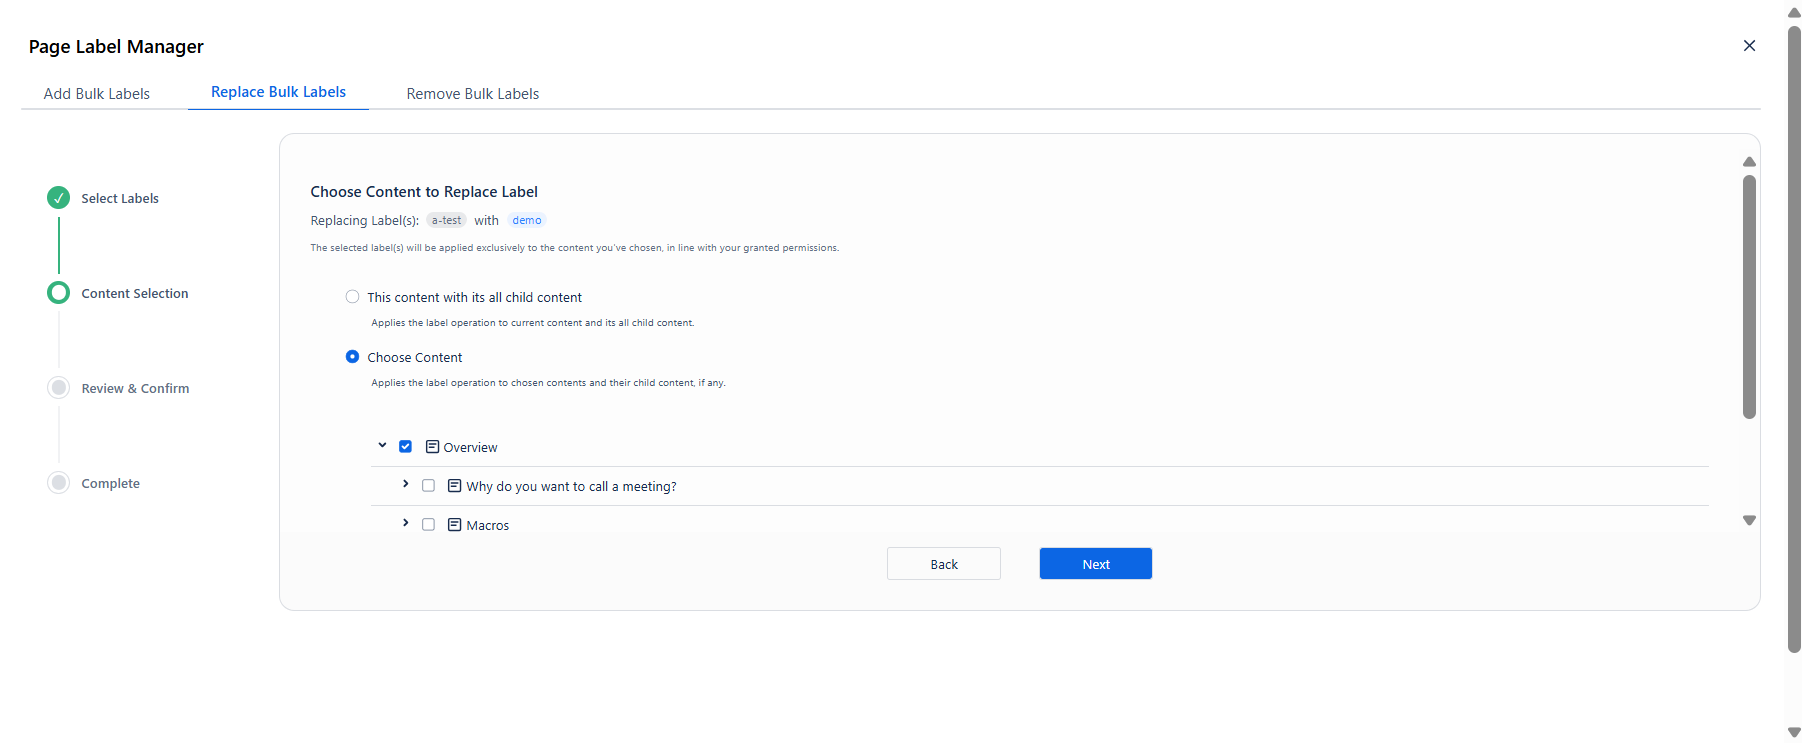
Works identically to the Add operation. The header confirms what is being replaced: Replacing Label(s): a-test → with → demo
|
Option |
Behaviour |
|---|---|
|
This content with its all child content |
Applies the replacement to the current page and all its descendants. |
|
Choose Content |
Displays a page tree - check each page to include. |
Click Next when your selection is ready.
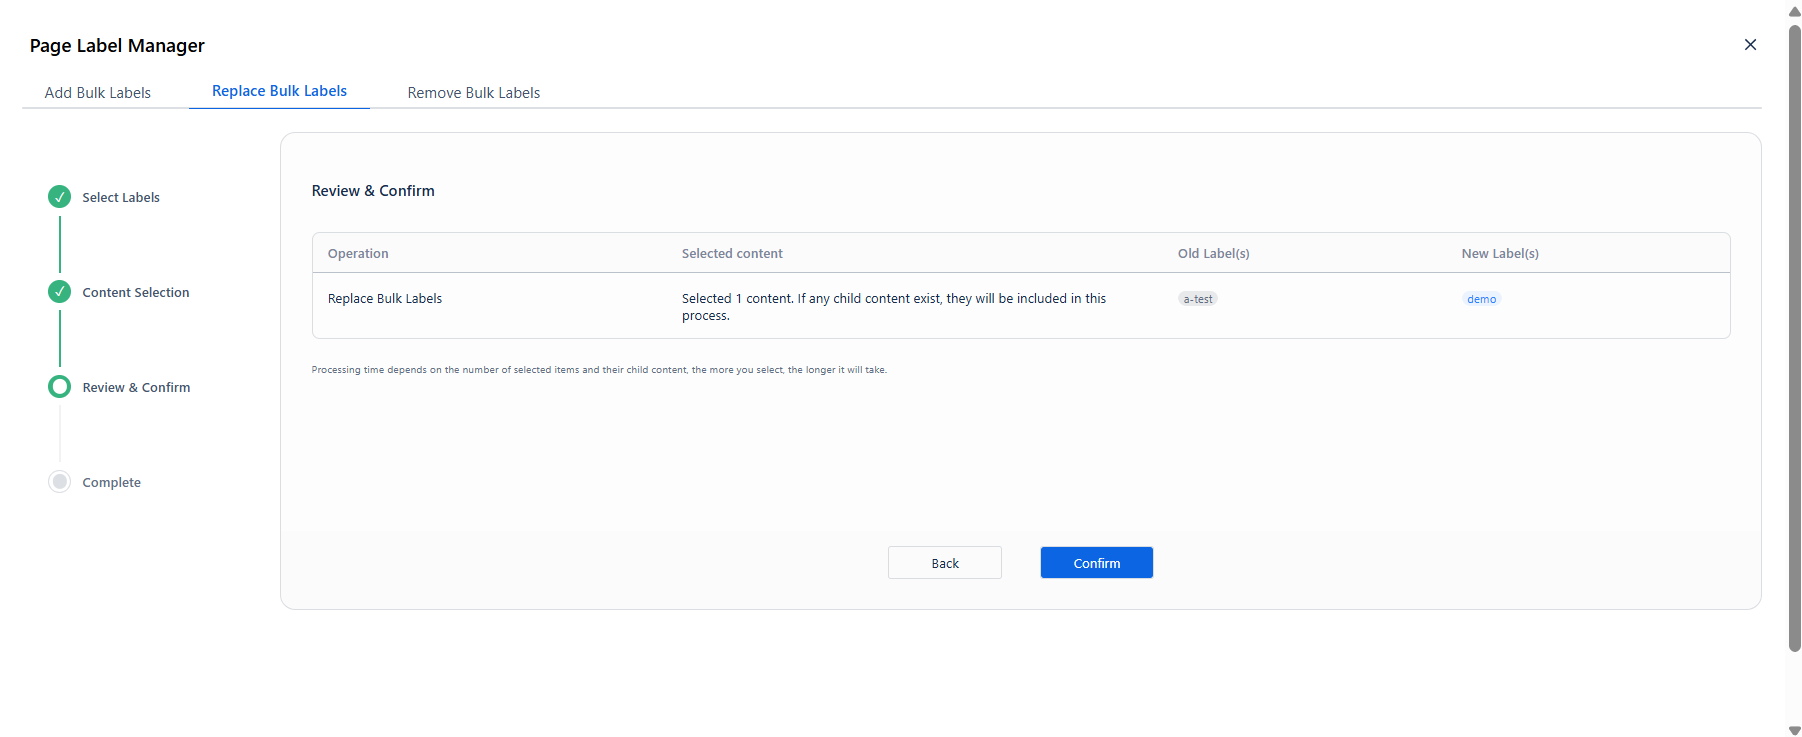
Step 3 - Review & Confirm
The summary table includes an extra column compared to the Add operation:
|
Column |
What it shows |
|---|---|
|
Operation |
Replace Bulk Labels |
|
Selected content |
Number of pages in scope, including child pages |
|
Old Label(s) |
The label being removed |
|
New Label(s) |
The label being applied in its place |
Click Confirm to start the operation.
Step 4 - Processing & Results
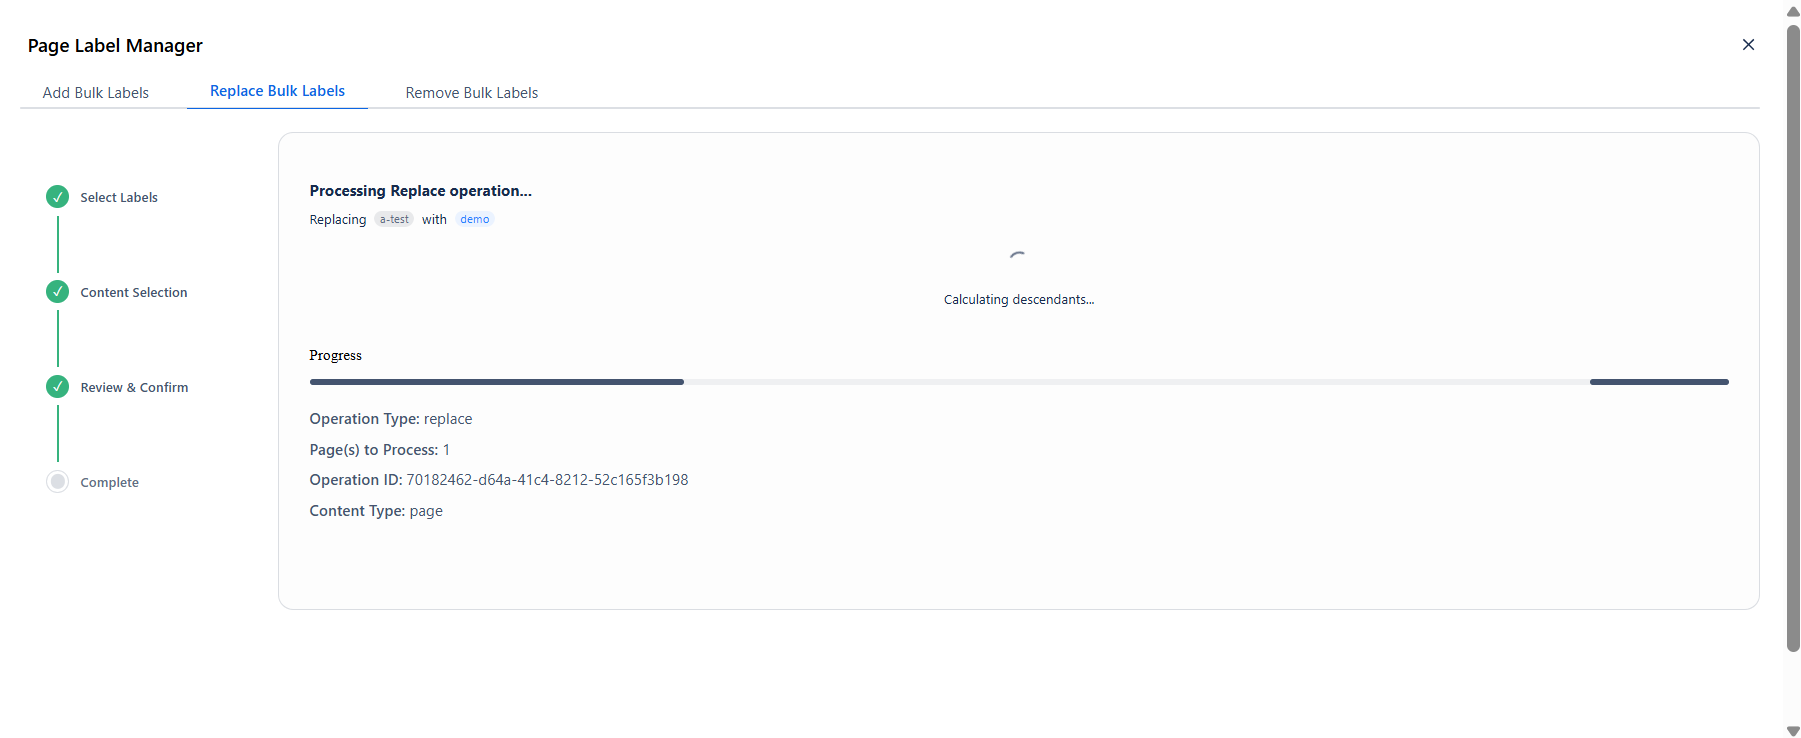
The progress screen shows the same metadata as the Add operation. You may also see a Calculating descendants… status message while the app determines how many child pages need to be updated.
Results follow the same format as Add (Total Processed / Successful / Error). Click Close when done.